
Stationery Box with Art Gallery Bundle
Hello! I have a new project for you, we made this project at one of my classes at home some time ago, since I haven't been able to host any more classes I have been revisiting my most successful ones to bring them to You!
This Stationery set was a great hit and I have received great comments about it, it allows you to have a good amount of cards in different sizes organized and ready to use.
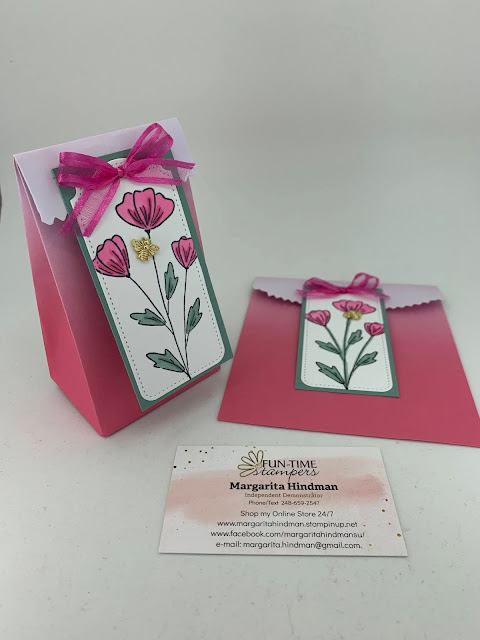
I'm Using the Art Gallery Bundle on the front tag, the stamp set has a coordinating die set to cut the flowers and the little tags to stamp the sentiments


The Box is made with a 12 x 12 Basic White cardstock and the lid is Rococo Rose Cardstock, both decorated with the Paper Blooms Designer Series Paper which is one of the items You can Get for FREE with your qualifying purchase


Take a 12 x 12 piece of Basic White cardstock and score at 5 and 7 inches, rotate and score at 1, 3, 9 and 11
To make the lid start with a piece of Rococo Rose Cardstock that measures 10 1/8 x 6 1/8, score at 2 inches on all 4 sides.
To make the back insert start with a piece of Basic White Cardstock that measures 8 x 3, on the 8 inch side score at 1 and 7 inches.
To make the front insert start with a piece of Basic White Cardstock that measures 8 x 2, on the 8 inch side score at 1 and 7, then make a divider that measures 2 x 1 1/2, on the 1 1/2 side score at 1/4 and 1 1/4, fold this piece and make a divider 3 1/2 inches far from the left border.
 |  | ||
 |  | ||
 |
 Cardstock")


 Blushing Bride Metallic Ribbon")
Comments
Post a Comment